Wind Turbine As A Power SourceSolar panels are working great except for nighttime and cloudy days. To fill in those sags the idea of wind power came to mind. A video on Youtube by John Daniels was inspiration because John demonstrated that a small turbine can produce as much power as a similarly priced solar array. The advantage, of course, is that it can do that day or night, cloudy or clear when the wind is blowing . Here’s a link to the video: https://www.youtube.com/watch?v=B9e_owv9U7w&t=394s. Considering a total lack of knowledge of wind power on my part, it’s time to move up the learning curve.
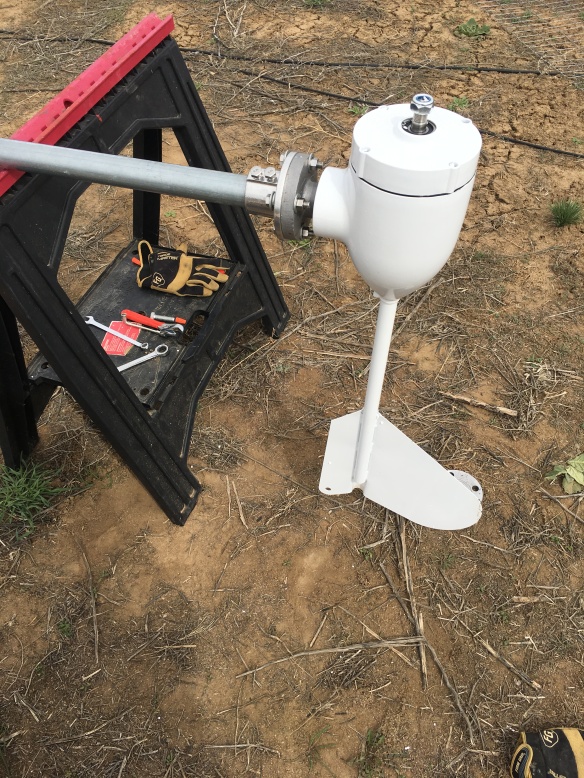
The same turbine shown in the video was ordered from Ali-express and installed on a 10 foot mast.
The bolt-on flange was purchased from Grainger so no welding was needed. It works. It holds the turbine secure even with strong winds. Next task is to attach the blades and raise it. The finished product looks like this.
As per the video a controller was built from individual components rather than using the lightweight controller that is included with the turbine. Diode on the left, voltage sensor in the middle that switches the relay in and out, and the dummy load diversion resistor on the right. Compare all that paraphernalia with the nice compact solar controller below.
One shortcoming is there is no way to monitor the current remotely. Arduino to the rescue, along with a shunt and a INA219 current sensor interface module. Two sensors were built so current from the solar array could be compared with turbine current. Here is the Arduino and it’s peripherals on their way to the installation site.
The remote sensor works great as does the turbine and it’s home built controller. We’ll evaluate how well the turbine fills in the sags over the summer. Over the winter is probably a better test, with less sunshine.
The display screen of the Arduino remote current monitor looks like this. Current A is the solar array and Current B is the wind turbine. In this example the solar panels are providing 8 amps of current and the wind turbine, about 2 amps. Naturally, the minus sign means the wind was blowing backwards at the moment. Just joking. The positive and negative leads got hooked up backwards and will be corrected on the next visit to the site.


